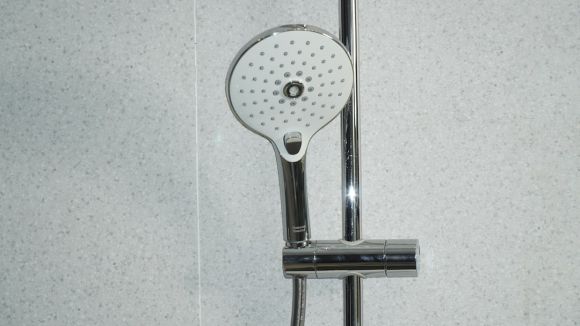
Are you tired of your old and worn-out showerhead? Does it no longer provide a satisfying showering experience? If so, you may be wondering if you can replace your showerhead yourself. The good news is that replacing a showerhead is a relatively simple and straightforward task that most homeowners can do on their own. In this article, we will guide you through the process of replacing your showerhead, step by step.
Checking the Compatibility
Before you begin the process of replacing your showerhead, it is important to check the compatibility of the new showerhead with your existing plumbing system. Most showerheads are designed to fit standard plumbing connections, but it is always a good idea to double-check. Measure the diameter of your existing showerhead and make sure that the new one you choose has the same measurements.
Gathering the Tools and Materials
To replace your showerhead, you will need a few basic tools and materials. Here’s what you’ll need:
– Adjustable wrench or pliers
– Teflon tape
– New showerhead
Removing the Old Showerhead
Start by turning off the water supply to your shower. This can usually be done by shutting off the water valve located near your shower or by turning off the main water supply to your house. Once the water supply is turned off, use an adjustable wrench or pliers to loosen the nut that connects the showerhead to the shower arm. Once the nut is loose, you should be able to unscrew the old showerhead by hand.
Cleaning and Preparing the Shower Arm
Once the old showerhead is removed, take a moment to clean and inspect the shower arm. Remove any debris or mineral deposits that may have accumulated over time. Use a toothbrush or a small brush dipped in vinegar to scrub away any stubborn residue. After cleaning, wrap the threads of the shower arm with Teflon tape. This will help create a watertight seal when you install the new showerhead.
Installing the New Showerhead
Now it’s time to install the new showerhead. Start by screwing the new showerhead onto the shower arm. Use your hand to tighten it as much as possible, and then use an adjustable wrench or pliers to give it an extra quarter turn. Be careful not to overtighten, as this could cause damage to the shower arm or the new showerhead.
Testing the New Showerhead
Once the new showerhead is securely in place, turn on the water supply and test it out. Check for any leaks or drips around the connection between the showerhead and the shower arm. If you notice any leaks, use an adjustable wrench or pliers to tighten the connection further. If the leaks persist, you may need to remove the showerhead and reapply Teflon tape to the shower arm threads before reinstalling it.
Conclusion: Enjoy Your New Showerhead
Replacing your showerhead is a simple and rewarding DIY project that can be completed in just a few easy steps. With the right tools and materials, you can upgrade your showering experience and enjoy a rejuvenating shower with your new showerhead. So go ahead, give it a try, and enjoy the satisfaction of a job well done!


