Replacing Old Plumbing Pipes: A DIY Guide to Upgrading Your Plumbing System
Is the plumbing in your home starting to show its age? Are you tired of dealing with leaky pipes and low water pressure? It may be time to consider replacing your old plumbing pipes. While this may seem like a daunting task, with the right tools and knowledge, you can successfully tackle this project on your own. In this article, we will guide you through the process of replacing old plumbing pipes, saving you time and money.
Assessing the Situation: Determining the Scope of the Project
Before diving into the project, it is important to assess the situation and determine the scope of the project. Begin by inspecting the current plumbing system and identifying the areas that require replacement. Look for signs of corrosion, leaks, or any other damage. This will help you determine the type and quantity of materials you will need for the project.
Gathering the Right Tools and Materials
Once you have assessed the situation, it’s time to gather the right tools and materials. You will need a pipe cutter, a pipe wrench, a deburring tool, and a propane torch for soldering. In terms of materials, you will need new pipes, fittings, and joint compounds. Make sure to choose materials that are compatible with your existing plumbing system.
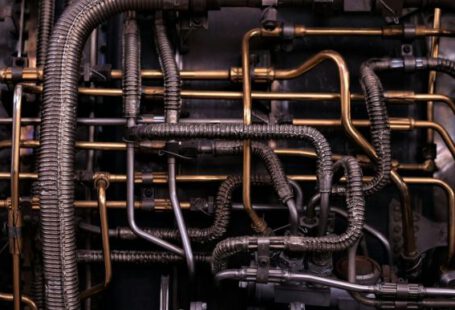
Removing the Old Pipes
Now that you have everything you need, it’s time to start removing the old pipes. Begin by shutting off the water supply to the affected area. Use the pipe cutter to cut the old pipes into manageable sections. Be careful not to damage any surrounding structures or fixtures. Once the old pipes are cut, use the pipe wrench to loosen and remove any fittings or joints.
Preparing the New Pipes
Before installing the new pipes, it is important to prepare them properly. Use the deburring tool to remove any rough edges or burrs from the cut ends of the pipes. This will ensure a smooth and secure fit when connecting the pipes together.
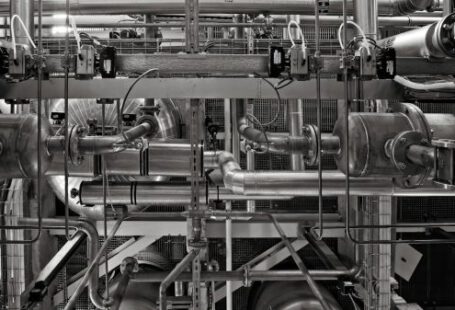
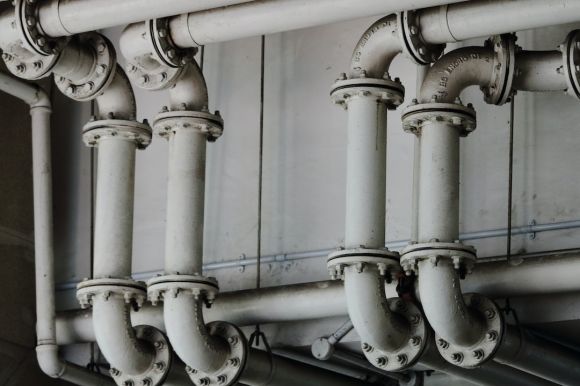
Installing the New Pipes
With the old pipes removed and the new pipes prepared, it’s time to start installing the new plumbing system. Begin by applying joint compound to the threads of the fittings. This will help create a watertight seal. Use the pipe wrench to tighten the fittings and ensure a secure connection. Repeat this process for each joint and fitting until the new plumbing system is complete.
Testing and Inspecting
Once the new plumbing system is installed, it’s important to test and inspect it before closing up the walls. Turn on the water supply and check for any leaks or irregularities. If you notice any issues, make the necessary adjustments or repairs before proceeding.
Closing up the Walls
Finally, once the new plumbing system has been tested and inspected, it’s time to close up the walls. If you are comfortable with drywall work, you can patch up the areas yourself. Otherwise, it may be best to hire a professional to ensure a seamless finish.
Conclusion: Upgrade Your Plumbing System with Confidence
Replacing old plumbing pipes may seem like a daunting task, but with the right tools and knowledge, it can be a rewarding DIY project. By assessing the situation, gathering the right tools and materials, and following the proper steps, you can upgrade your plumbing system with confidence. Remember to test and inspect the new system before closing up the walls to ensure a job well done. So, roll up your sleeves and get ready to enjoy the benefits of a modern and efficient plumbing system in your home.